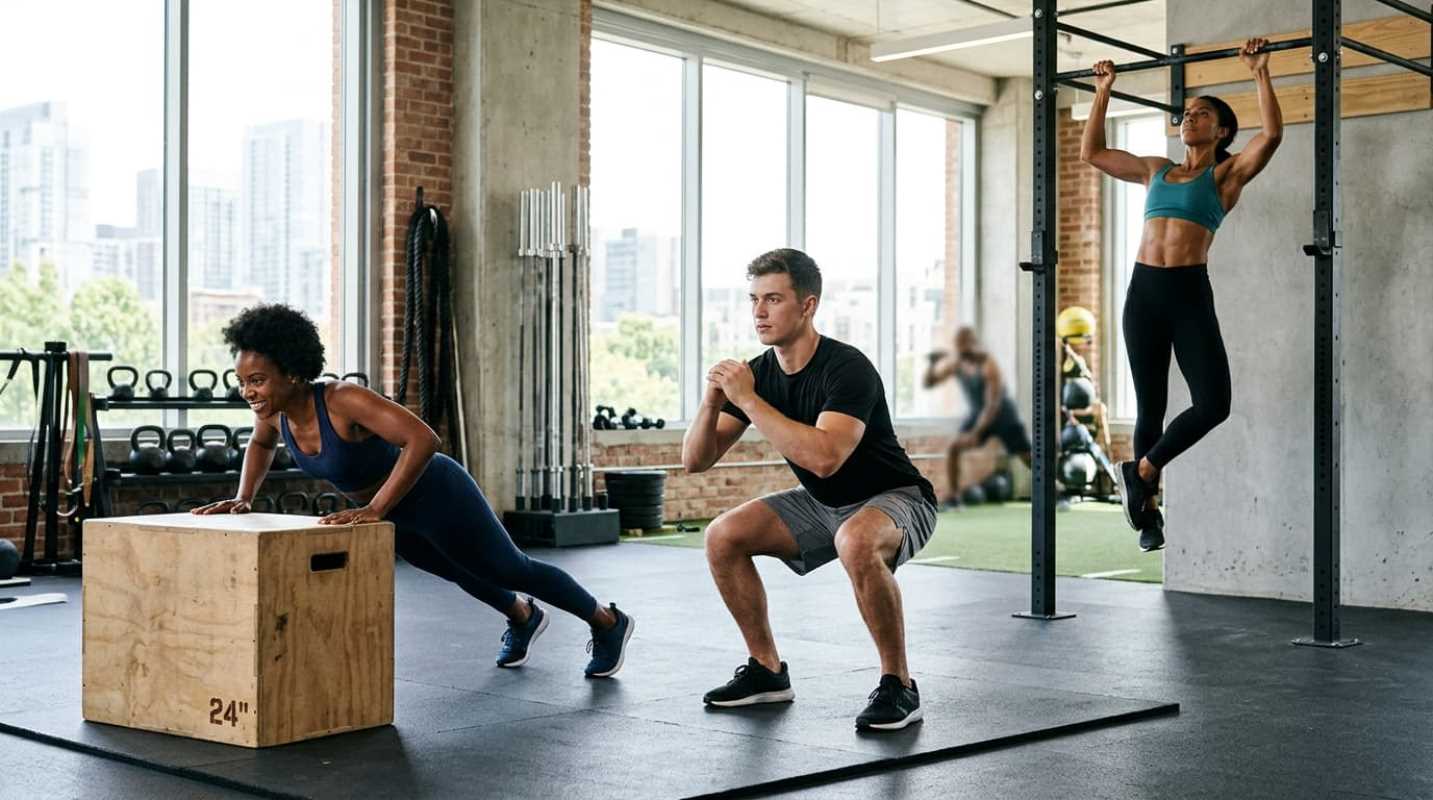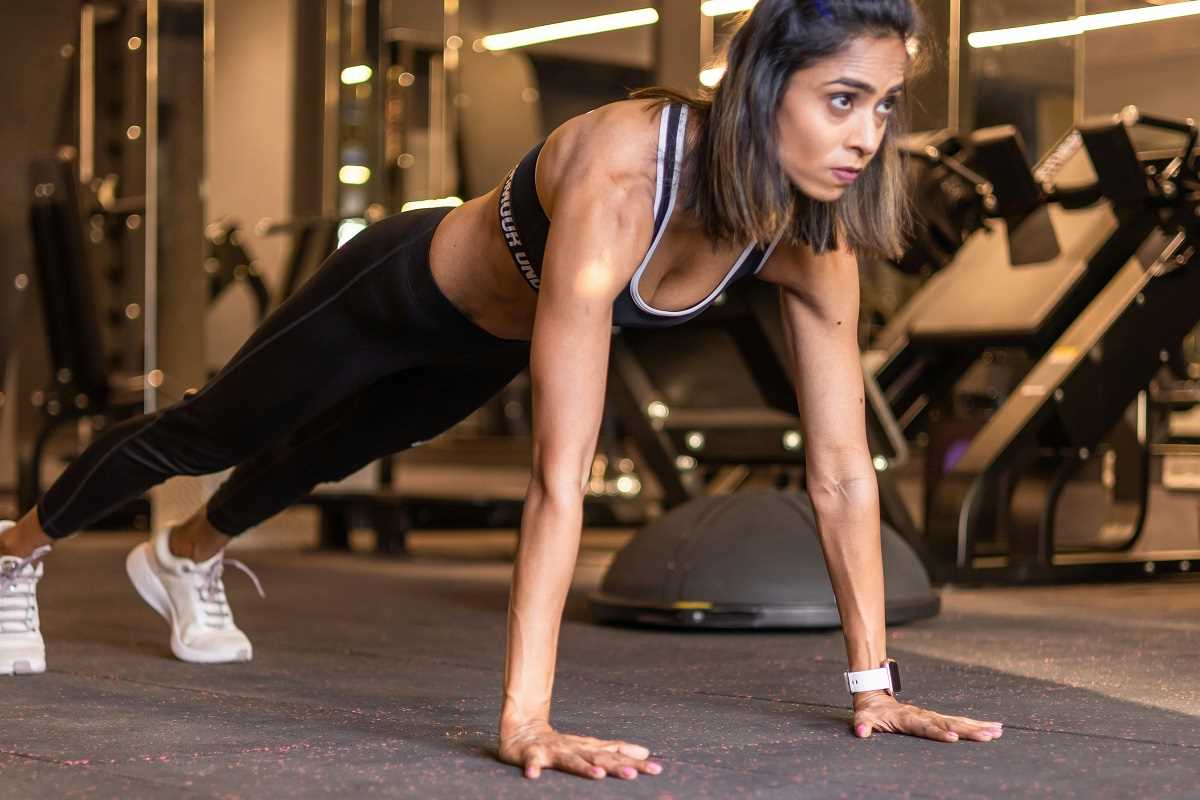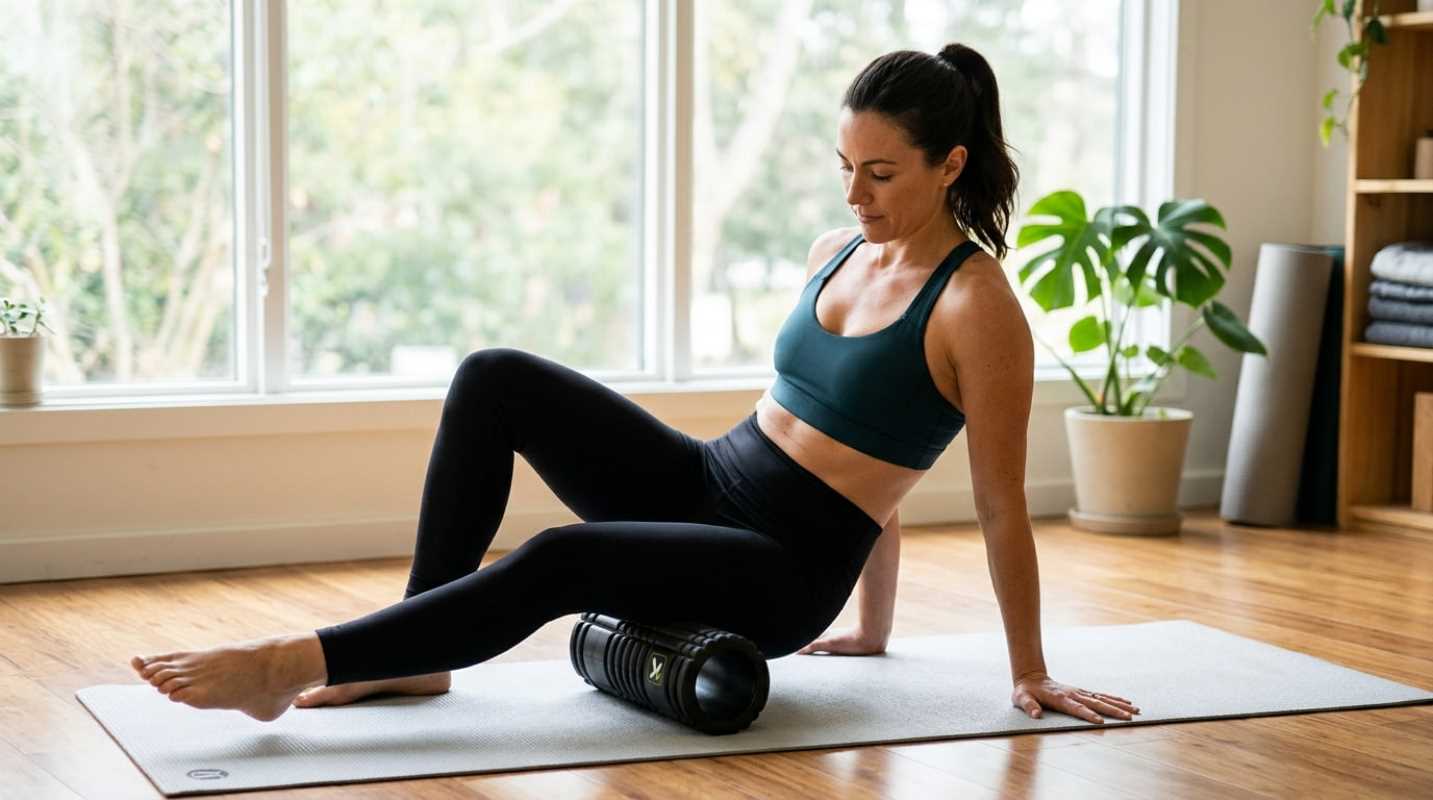
Have you ever rolled out of bed two days after a brutal workout and dreaded taking the stairs? That familiar, heavy stiffness is delayed onset muscle soreness, or DOMS. When you push your muscles harder than usual, microscopic damage occurs within the muscle fibers, accompanied by mild inflammation and fluid retention.
For decades, the standard recovery advice was simple: sit on the couch, grab an ice pack, and wait it out. But passive rest is rarely the fastest route back to feeling good. Although your body will heal on its own eventually, letting stiff tissues sit completely idle leaves you feeling locked up. Stagnant blood flow and lingering fluid buildup can keep you feeling sore for days longer than necessary.
This is where self-myofascial release comes into play. You have probably heard someone claim that foam rolling "breaks up scar tissue" or "smooths out fascial adhesions." That is an old myth. Human fascia is remarkably strong. It takes thousands of pounds of force to physically deform fascial tissue even one percent. A foam cylinder cannot reshape your anatomy.
Instead, foam rolling works through your nervous system and fluid dynamics.¹ When you apply slow, targeted pressure to sore muscles, you stimulate specialized sensory receptors beneath your skin. These receptors signal your central nervous system to turn down muscle tone and reduce protective guarding. At the same time, the gentle compression temporarily shifts fluid through the tissue matrix, encouraging fresh microvascular circulation once the pressure releases. You get improved joint range of motion and reduced soreness without forcing your body through unnecessary pain.
Mastering the Fundamentals and Proper Technique
Getting results from a foam roller requires deliberate technique. Most people treat rolling like a race: they drop onto the floor, saw back and forth across their legs as fast as possible, wince through intense pain, and stand up expecting magic. That approach usually backfires. If your nervous system feels attacked, your muscles will contract to protect themselves, completely defeating the purpose.
To get the most out of your sessions, keep these core rules in mind
• Avoid bony landmarks: Never roll directly over your joints, kneecaps, hip bones, or your lower back. Focus your efforts on the thick, fleshy belly of the muscle to avoid irritating tendons and joint capsules.
• Slow your pace: Move at a crawl, covering roughly one to two inches per second. Fast rolling stimulates your nervous system, which is great during a pre-workout warm-up. Slow, rhythmic rolling triggers a parasympathetic response that calms your body down for recovery.²
• Breathe through the pressure: Take long, controlled breaths in through your nose and out through your mouth. If you find yourself holding your breath, gritting your teeth, or tensing your shoulders, you are pressing too hard.
• Calibrate intensity: Aim for a subjective discomfort level around 6 or 7 out of 10. Think of it like a firm massage. You should feel tension, but you should still be able to relax your face and breathe naturally.
Targeting Trigger Points and Tight Areas Effectively
There is a big difference between general muscle soreness and a distinct trigger point. Soreness feels like a diffuse, dull ache spread across an entire muscle group, such as your quadriceps, after squatting. A trigger point feels like a localized knot that flares with sharp sensitivity when you press it, sometimes referring discomfort into neighboring areas.
When you roll across a tender spot, do not attack it aggressively. Friction-rubbing a sensitive knot back and forth will only irritate the tissue and cause bruising.
Instead, park the roller directly on top of the tight spot. Relax your body, drop your weight into the tool, and hold sustained pressure for 30 to 60 seconds. Focus on your exhale. As you breathe out, imagine the muscle sinking around the roller. In many cases, you will feel the initial sharp edge of discomfort begin to melt away as your nervous system downregulates local tension.
Adjust your approach depending on the muscle you are targeting. Thick, resilient muscle groups like your glutes, hamstrings, and quads can handle substantial bodyweight pressure. Thinner or more sensitive areas, like your inner thighs or calves, require a lighter touch. You can easily control the pressure by keeping your opposite foot or hands firmly planted on the floor to offload your bodyweight.
Strategic Integration with Recovery Days
Consistency always wins over sporadic marathon sessions. Spending five to ten focused minutes rolling a few times each week works far better than an agonizing forty-minute session once a month.
When you roll, it matters just as much as how you roll. Post-workout rolling and dedicated recovery day sessions serve distinct goals
• Post-workout sessions: Rolling within two hours of finishing your training helps clear metabolic fatigue and blunts the soreness peak that typically arrives 48 hours later.⁵ Keep these sessions brief, hitting each worked muscle group for just two to three sets of 30 to 60 seconds.
• Dedicated recovery days: On your days off from intense training, pair slow rolling with gentle mobility work. This helps restore tissue suppleness, lowers systemic stress, and keeps your joints moving freely without adding training fatigue.
Foam rolling also holds a clear advantage over traditional static stretching for performance. Holding long static stretches before or between intense workouts can temporarily decrease your power output and sprint speed. Foam rolling restores your short-term range of motion without sapping your strength or dampening neural drive. Use rolling to restore movement quality whenever you need it, and save prolonged static stretches for quiet evenings right before sleep.
Beyond the Roller with Needed Self-Massage Tools
A standard foam roller is a fantastic tool for large, flat surfaces, but its cylindrical shape cannot reach everywhere. Your body is full of curves, hollows, and dense tissue pockets that call for different shapes and densities.
• High-density foam rollers: These remain the gold standard for your quads, hamstrings, glutes, and upper back. Look for solid EVA foam that will not warp or develop hollow dips over time.
• Lacrosse and massage balls: Because of their small surface area, dense rubber balls are ideal for deep, focused spots. They let you pinpoint the piriformis deep in the hip, release tight pec muscles near the shoulder, and roll out the plantar fascia under the arches of your feet.
• Massage sticks: Handheld massage rollers shine when you want to target your lower legs, particularly the calves, shins, and forearms. Because you control the handles, you can apply exact pressure without having to support your bodyweight from the floor.
Self-massage is safe and accessible for almost everyone, but you still need to pay attention to warning signals. You should never feel sharp, shooting nerve sensations, electrical twinges, or numbness. If an area is visibly swollen, bruised, or hot to the touch, leave it alone. Foam rolling is designed to ease muscular fatigue and transient stiffness. If you are dealing with chronic, sharp joint pain or an injury that does not improve after a few days, skip the self-treatment and check in with a physical therapist or medical professional.
Sources:
1. Sydney Strength Coach
https://www.sydneystrengthcoach.com/p/foam-rolling-evidence
2. National Center for Biotechnology Information
https://pmc.ncbi.nlm.nih.gov/articles/PMC6465761/
3. PubMed Central
https://pubmed.ncbi.nlm.nih.gov/39593540/
*This article on Katiently is for informational and educational purposes only. Readers are encouraged to consult qualified professionals and verify details with official sources before making decisions. This content does not constitute professional advice.*